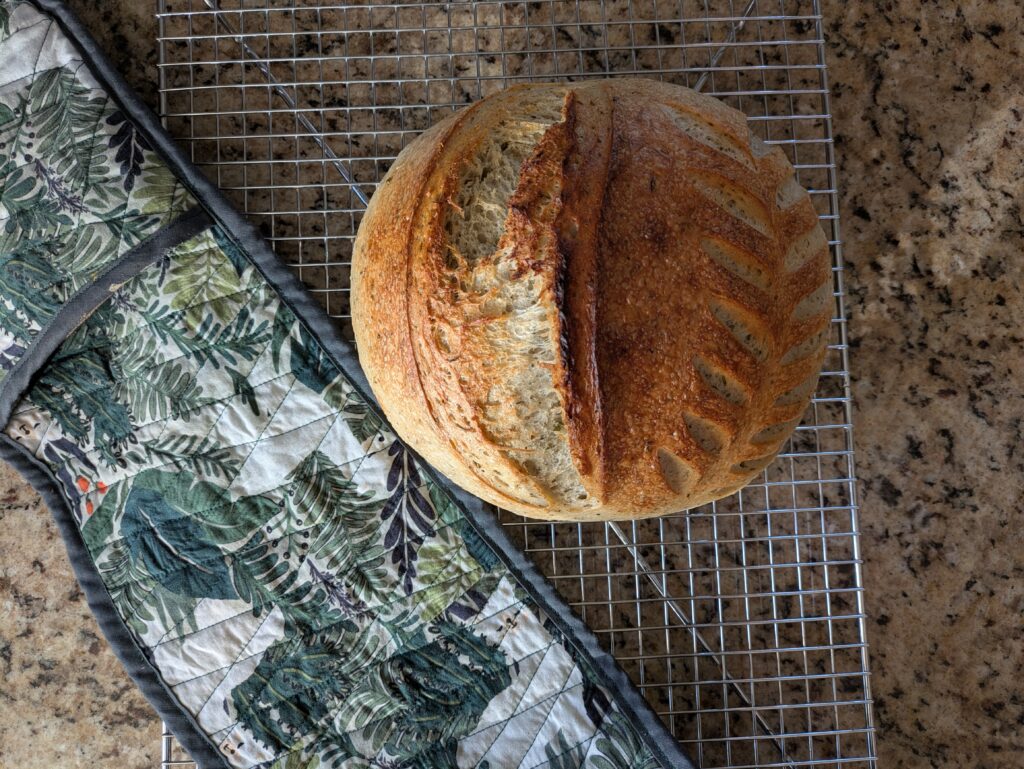
This beautiful loaf of bread pairs well with many savory dishes. Whether you’re cooking pasta, soup or preparing a dip this loaf will compliment it well. I love to put olive oil on my bread so I thought why not put olive oil in my bread like so many have done before. I have tried to prepare —a few different loaves using olive oil, but I really enjoy this one the best.
Introduction
To start this recipe, ensure that you have an active, bubbly starter.
The materials that I needed for this recipe includes:
- Unbleached parchment paper
- Counter space for stretch and folds
- Glass bowl
- Dough Whisk
- Dutch oven
- Banneton basket
- Beeswax bowl cover or plastic wrap
- Sourdough bread scorer
1. Purchase Quality Ingredients
This loaf does take some preparation so if you want it for a certain day you will have to prepare about two days before depending on how much you like the dough to ferment. I have fermented this dough overnight and prepared it the next morning and it still taste delicious. I know some prefer the longer fermentation which is really good for your gut and will allow your body to process the bread easier. Usually, we have guest over a few times each month and we have our go-to meals that we prepare. No one says no to a delicious loaf of bread with any meals but just in case you need ideas here are some that will pair well with this bread.
Examples:
- Any Soup (Curry Lentil soup, Chili, etc)
- Sheet pan chicken with vegetables
- Spaghetti
- Stew
- Bruschetta
Each ingredient adds to the texture, richness and taste of this bread but there are a few ways to make it even better by using quality ingredients.
Sourdough Starter: I have only had my sourdough starter for one year that I received from a friend. You can start one on your own by looking at videos similar to this one or you can purchase one or grab some from a friend.
Olive Oil: I love getting Olive oil from a local vendor. The quality and the taste are much better than any store-bought olive oil I have purchased. If you’re in the California area checkout Fathers Farmhouse.
All Purpose Flour/Wheat Flour/Bread Flour: I purchase my flour from Azure Standard. They have many options to choose from when it comes to flour but I really enjoy that their quality is high, and you can taste the difference especially if you have used enriched/bleached flour. A little side not about “enriched” and “bleached” flour; these terms may not sound that bad to you but as you look further into how its processed and stripped of nutrients you would be wise to purchase unbleached whole wheat flour. The goal when you are eating sourdough bread is not only that it tastes good, but it is also good for you. My goal is to one day grind my own grains to receive even more benefits from the flour we use.
Garlic Salt: The Original Richard Famous Garlic Salt is the best garlic salt I have ever used. It is on the pricier side but you only have to use a little since it is packed with quality ingredients. Use my code DIAMOND10 to receive a discount on your purchase.
Italian seasoning: I get my Italian seasoning from Azure standard as well. I can buy in bulk and know that the quality is always good.
2. Prepare the dough
To prepare the dough, take your glass bowl place it over your scale. Ensure that the scale is on “grams” and starts at zero. Take your active sourdough starter, measure 115 g, 30g of olive oil and 300g of warm water and mix with your dough whisker. Then place the flour of choice, garlic salt and Italian seasoning into the same bowl. Whether you have a standing mixer, dough whisk or just your hands make sure to mix until all ingredients are well combined.
115g sourdough starter
30g olive oil
300g warm water
450g all purpose or wheat flour
10g garlic salt
10g Italian seasoning
3. Stretch and fold
For this dough, I allow it to sit on the counter covered either with a beeswax cover or plastic wrap for one hour. Then I begin 5 sets of stretch and folds every 20-30 minutes. The time varies depending on what I have to do around the house to help my family. It is helpful to set a timer every 20 minutes to make sure you don’t miss a stretch and fold. This allows for air bubbles to increase which encourages a soft inside and crispy outside bread. If you don’t know how to stretch and fold your dough look at this video.
4. Fermentation
After you have completed all the stretch and folds. Take your dough place it on a clean countertop. Use this video to show you what to do before you place it into your banneton basket. Once completed place dough into a banneton basket and cover with the beeswax cover, tea towel or plastic. I like to leave it in the refrigerator overnight then in the morning I bake the dough. You may leave the dough in the fridge for 24 hours or even freeze the dough and bake when you are ready.
5. Bake
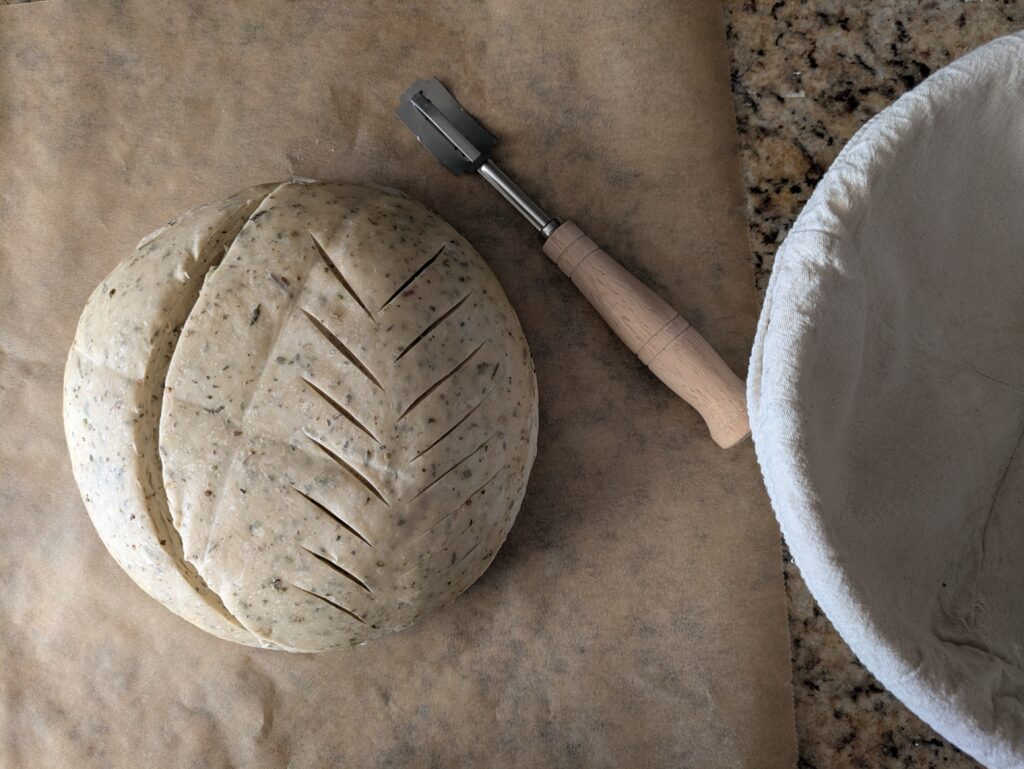
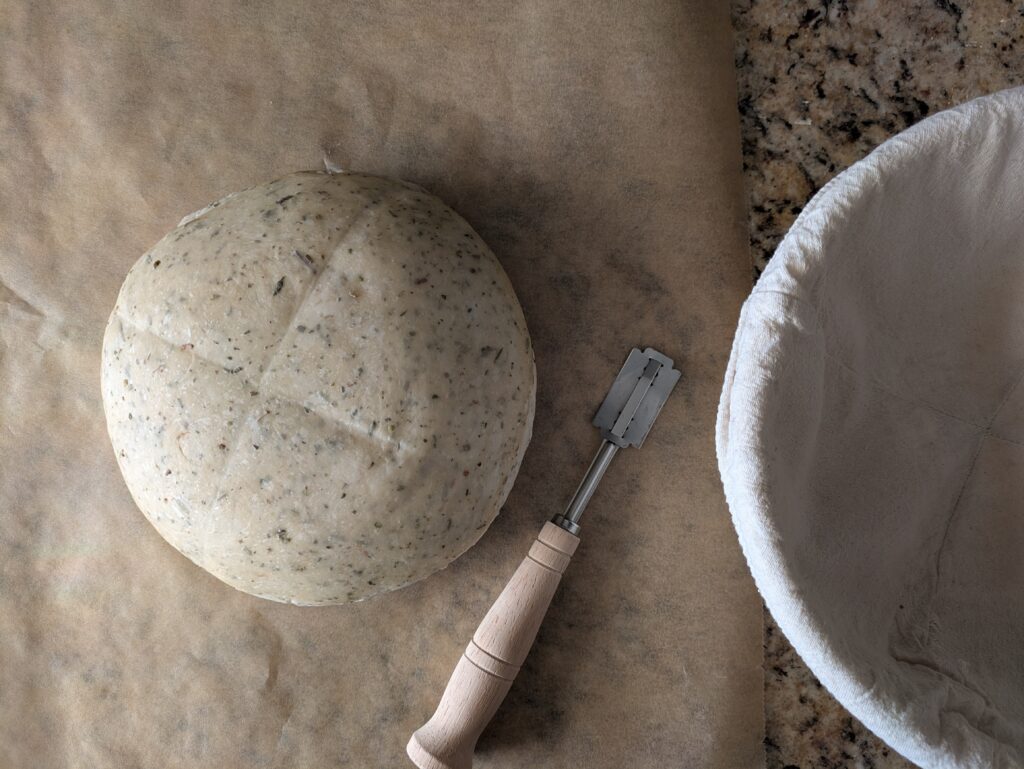
Set your oven to 500 degrees. Allow your Dutch oven to sit in the oven for 45 minutes before placing the dough in the oven. After 45 minutes, get your dough out of the fridge and flip the dough on top of your parchment paper. Use your scorer to score the dough, then place the dough (with the parchment paper) inside your Dutch oven. Pour 1 cup of water on the outside of the parchment paper to create steam to help the dough to rise. Close the lid on the Dutch oven and place into the oven for 25 minutes. After 25 minutes, remove the lid and place back into the oven to brown the top of the bread. Everyone’s oven is a little different so if you see your dough is done after 25 minutes don’t place it back into the oven. You don’t want to burn the bread to be sure to take a look at how well it baked after the 25 minutes in the oven.